
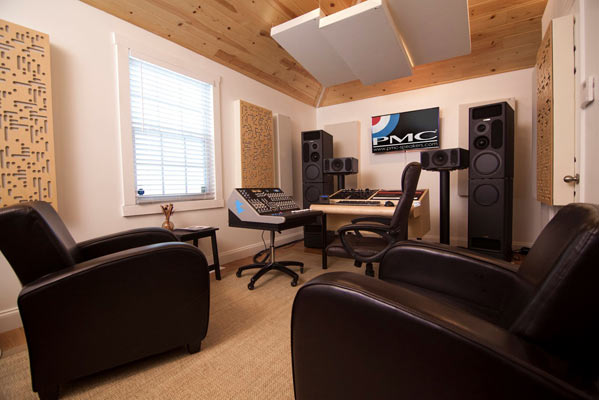


For those of you who are new to room acoustics, here’s an acoustic primer to help you get started. If you prefer, you can also download a printable PDF.
Room Acoustics Primer
Low frequency sounds tend to spread out and permeate the room. When the wavelength of a sound is the same as a room dimension a room mode will occur (when the volume is high enough to excite it)…and this will happen when you play or listen to your music.
This is due to the natural resonance of the room itself. These effects are called “Room Modes.”
There are 3 types of room modes, Axial, Tangential and Oblique.

Axial modes are based on the length, width and height of your room.

Tangential modes are based on the dimensions of 4 room surfaces.

Oblique modes are based on the dimensions of all 6 room surfaces.
Room modes create a series of peaks and dips throughout the room, areas where the volume is actually higher or lower than that coming out of the speakers. The sound pressure caused by room modes is greater at walls, greater yet at dihedral corners (where walls meet walls – ceilings and floors) and greatest yet at trihedral corners (wall/wall/ceilings or walls/walls/floors).
Obviously if you are mixing and happen to be sitting in an area where there is a dip – you will add more bass to the mix to get it to sound right to your ears, but when you play it back outside of your mixing room you will find the mix to be bottom heavy – too muddy with bass.
By the same token – if you mix where there is a peak – you will add less bass (to balance things out) and find the mix to be light in the bottom end (too thin) when you listen to your recording outside of your room.
In order to fix things, so you can create a mix that translates well into other environments, you either have to treat your room to lessen the effect that these room modes have in your listening environment, or, you have to learn what your room is doing so your mixes translate well in the real world.
Yes – you can learn to compensate – but it isn’t fun – it’s a lot of hard work, and if you are doing this with enjoyment being a part of the equation – you’ll be much better off if you fix your room.
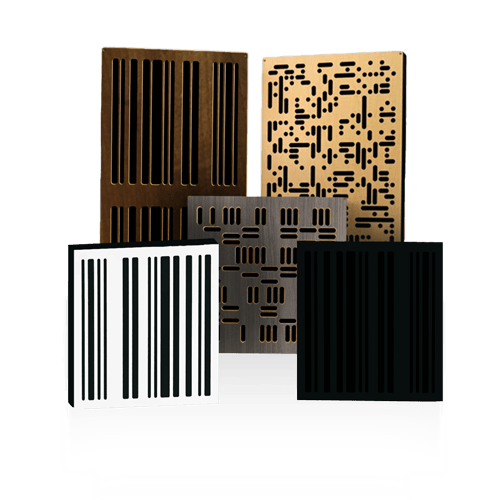
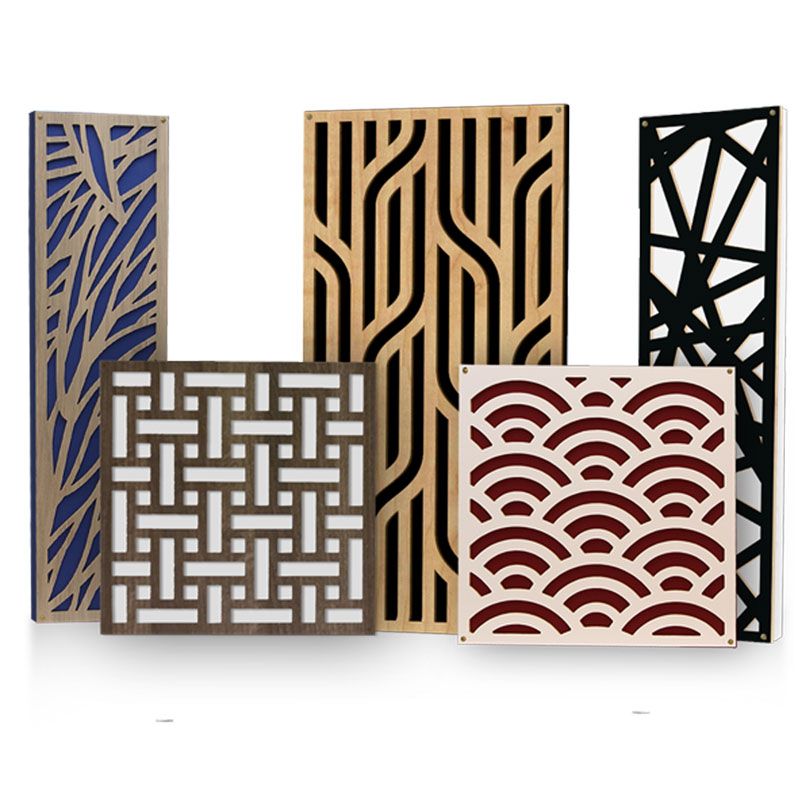
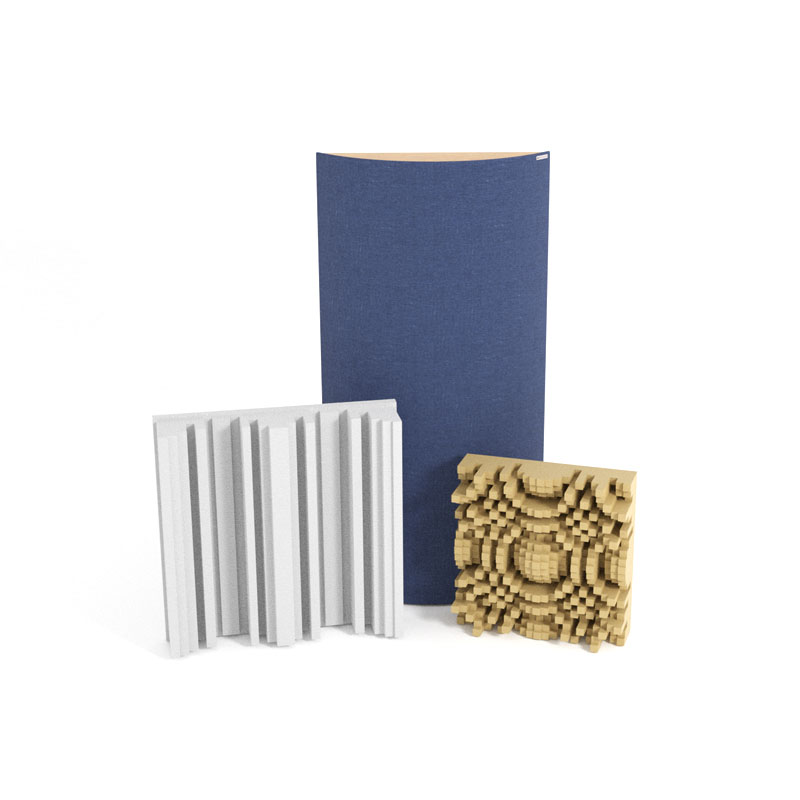
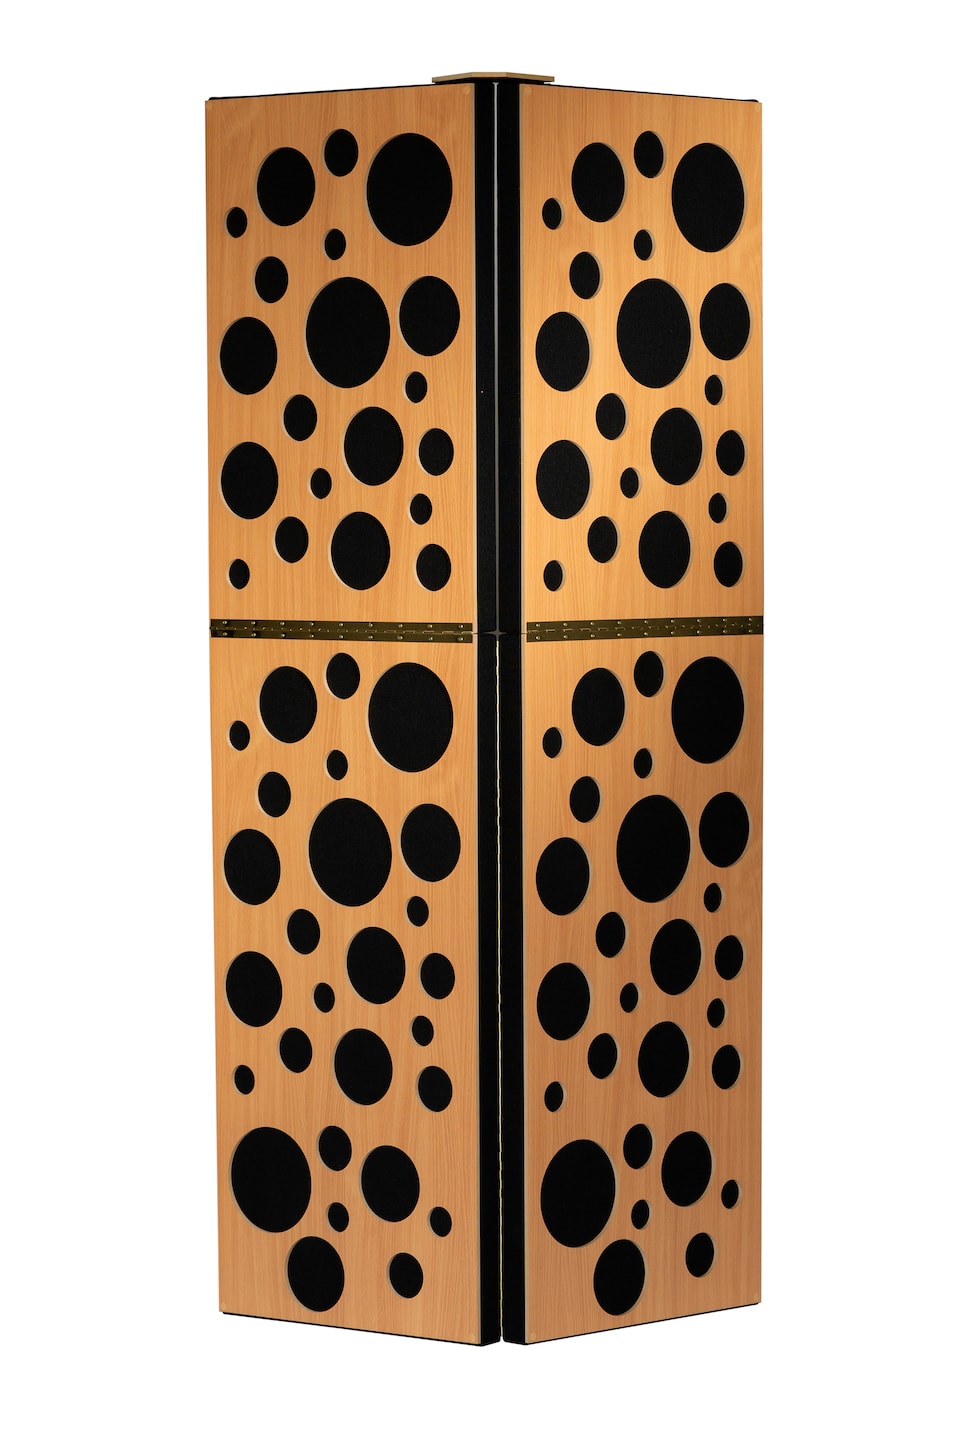
a) Diffusors – these work on the principle of modifying the location and movement of sound in the space in relation to itself and other frequencies.
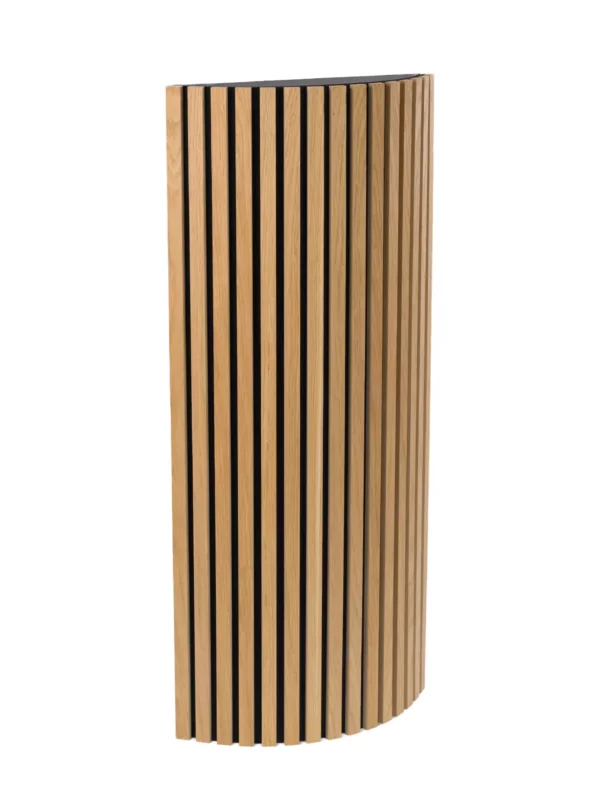
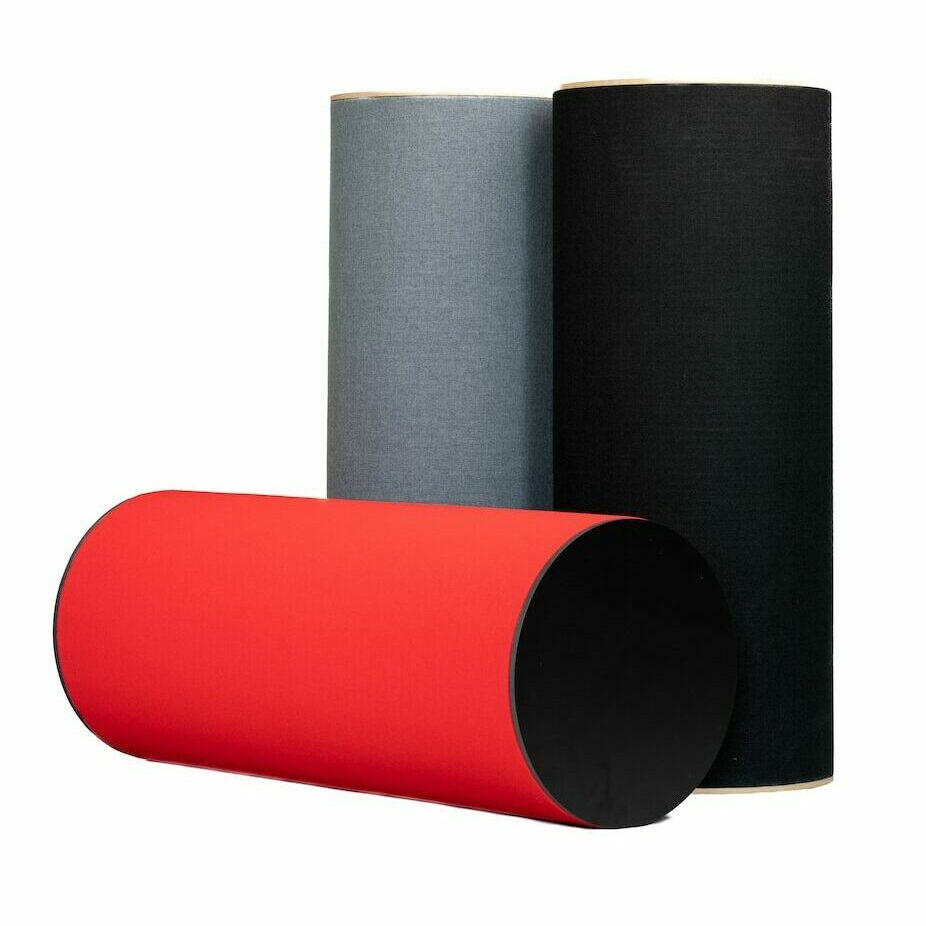
Cylindrical diffusors work simply by splaying a sound so that it doesn’t reflect back onto itself in full intensity.
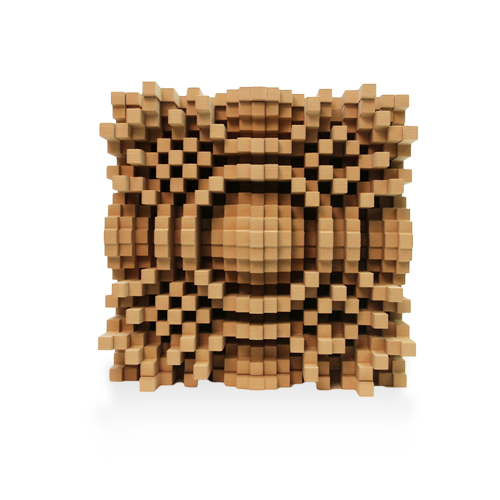
Skyline Diffusor
Skyline Diffusor Skyline diffusors work on the same basic principle as cylindrical diffusors.
Quadratic Residue Diffusors
Well-type QRD’s (Quadratic Residue Diffusors) modify the location of various waves in relation to the room through the use of “wells” with different depths.
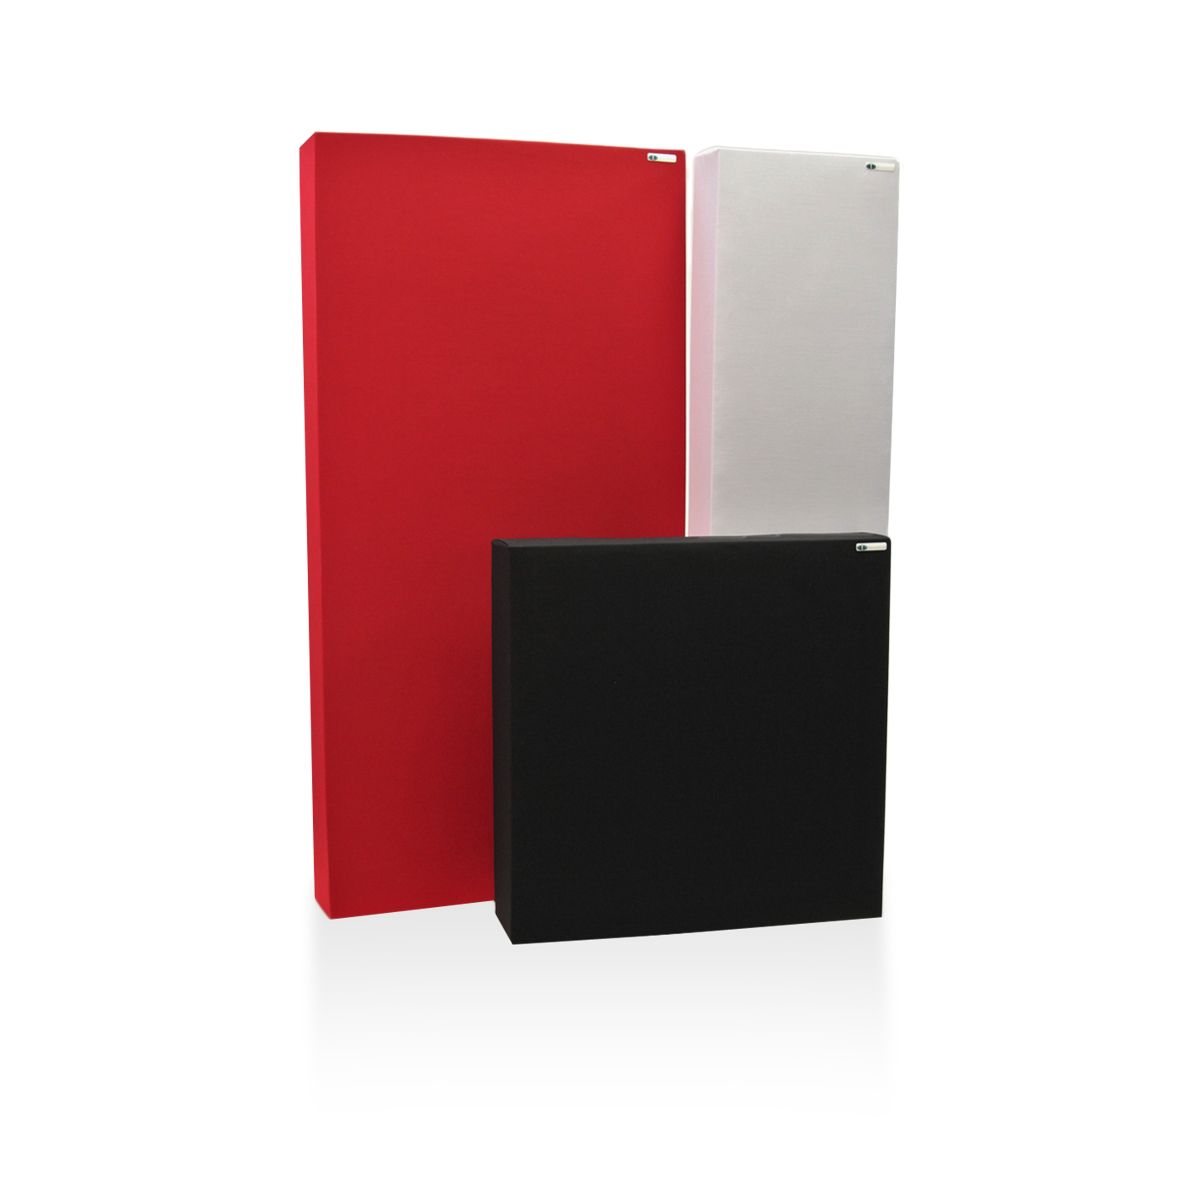
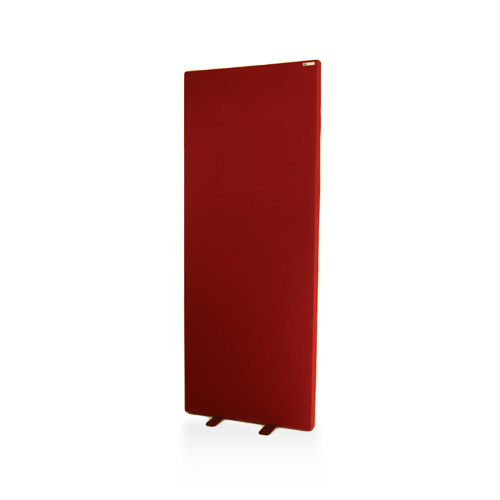
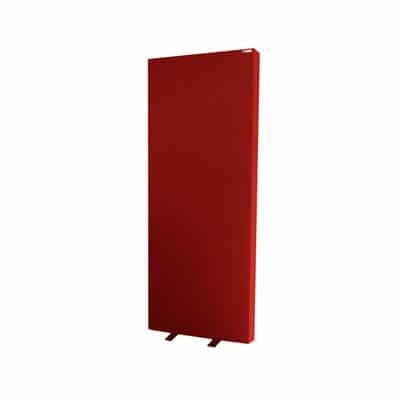
b) Rigid Fiberglass and Rockwool, Bass thru High Frequency Absorbers
Treatments constructed from Rigid Fiberglass and Rockwool are broadband in nature – thus they tend to deal with the entire frequency range. They are a very cost effective manner in which to treat a room. Lean towards densities of 3pcf (pounds per cubic foot) for higher and mid frequencies – and 6pcf to tame more of the low frequencies.
Placement of these traps with an air space between them and the adjacent surface increases the trap’s effectiveness. In the higher density materials – these can be very effective at low frequencies if placed straddling dihedral and trihedral corners.
These traps work on the principle of sound energy being converted into heat as the sound passes through the insulating material.
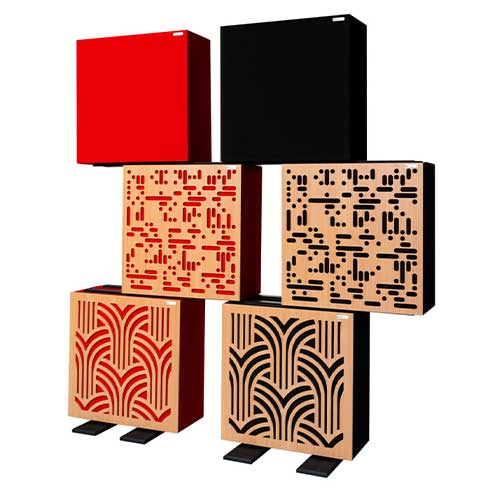
c) Narrow Bandwidth Bass traps
Panel and Helmholtz bass traps deal with low frequencies in a fairly narrow bandwidth range. Thus these traps are usually the last resort, used specifically to deal with a problem frequency left in a room, after broadband applications are in place.
Panel traps are constructed as sealed chambers – and require that “air-tight” construction in order to operate properly. Should you lose the seal over time – you also lose the effectiveness of the trap. A panel trap can be constructed to effectively deal with about an octave (1/2 above and below the traps center frequency) by installing rigid rock mineral wool behind (but not touching) the back of the panel. If this material were to touch the panel – it would not be allowed to vibrate freely – and thus would fail at it’s primary task.
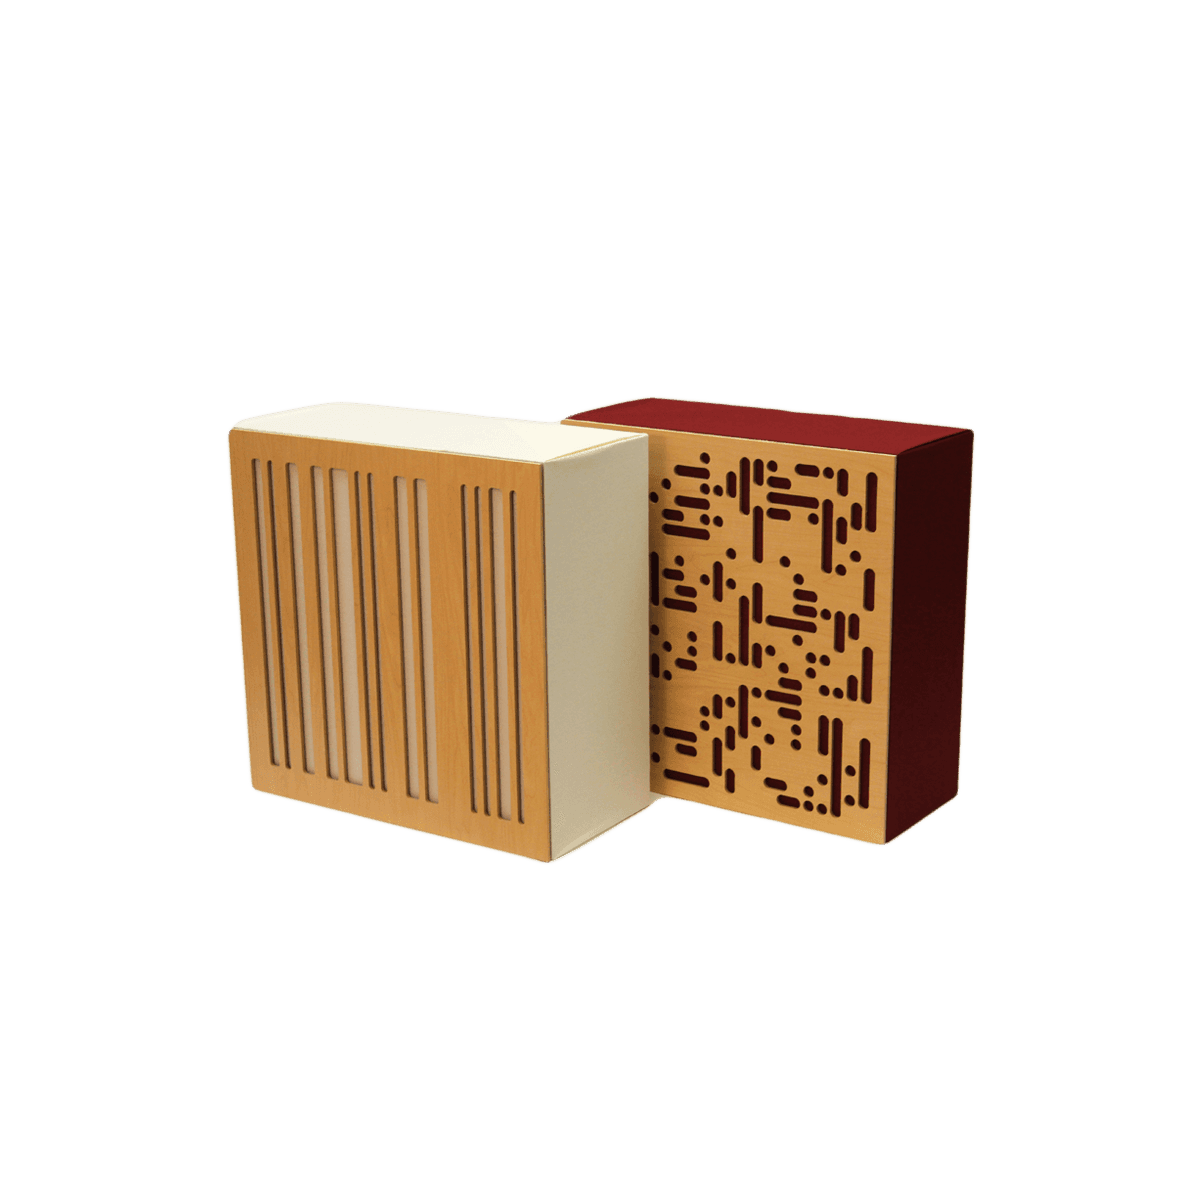
Helmholtz traps as constructed with slats of wood placed over framing members. The frequency that these traps can handle is determined by the depth of the trap, the width and thickness of the slat and the slot left between adjacent slats(the slot).
With a deep depth behind the slats – and very small slots – these can be constructed to handle very low frequencies.
Again, the placement of rigid glass materials behind the slats helps to trap about an octave around the center frequency of the trap itself.
A Helmholtz trap can be constructed as a broadband trap if it is designed as a splayed trap – as well as through the use of varying the slot widths in a flat trap.
They do have a demo version that you can download, but I highly recommend purchasing the entire package for the additional bells and whistles you get with it.
Testing isn’t all that difficult – and their documentation is pretty good – so we won’t waste a whole lot of time explaining to you exactly how to use the software… but what is important is that you understand the importance of performing lots and lots of tests.
First you want to understand how to set up your speaker and seating positions. Please check out the instructions from your speaker manufacturer, and then use the charts provided here to fine tune your set-up.
Then you want to take a lot of test samples in the area of your seating to figure out what location has the flattest response.
It isn’t going to do you any good to just take one test sample and go from there. For each position (of the microphone) I would suggest you take at least 10 readings, which you can then overlay with one another, The consistent readings (the ones that overlay perfectly – or very close to perfectly) are the correct ones for your location. The ones that don’t match have some anomaly that crept in and tainted the test data. This does occur and is one of the reasons that you really need more than one test in each location.
When moving the microphone think in terms of inches – preferably 1″ at a time.
This is not a process you want to rush. Heck – I know you want to get set up and start recording – but taking your time during the testing phase will pay dividends for you in the long run.
What you are going to see in results will depend a lot on your room – but you will definitely see evidence of room modes – as well as higher frequency activity having to do with reflected sounds.
When you locate the spot that gives you the flattest room response – that is where you want your ears to be.
At this time – I would suggest that you fine tune the location by first readjusting your speakers to come back to a perfect equilateral triangle – with the point ending about 1′-4″ behind the final microphone placement. This will assure that your stereo image works properly. Next – retest and then fine tune with movements (of the microphone) in increments of ¼”. Then do a final re-set of your speakers.
Be careful when setting up your speakers to make certain that the tweeters are the same elevation as your ears. Check out the following page for speaker layout.
Standard Speaker Layout for 2 Channel Stereo Stereo Speakers are typically placed in an equilateral triangle. This assures proper stereo imagery.

Standard Speaker Layout for 5 Channel Surround Surround Systems begin with the same set-up for the front left and right speakers. The remaining speakers should be placed the same distance as the primary speakers and angled as shown.

A rule of thumb for locating your listening position is to place your head centered left to right within your space, and to back away from the front wall until you are 38% of the room depth. Note: this is only a starting point which you will want to move forward or back to find the best response. You then want to place your speaker so they are in the configuration shown above – with the triangle closing about 1′-4″ behind the center of your head.
Note, this is as shown in the sketch on the right.
Begin any testing you will do with the mic in the position indicated, and then move the mic forward in small increments towards the actual listening position.
What you’re searching for is the point where you have the flattest response of all frequencies.
Understand that the flattest does not mean you won’t exhibit peaks and dips in response, just the best listening location prior to room treatments.

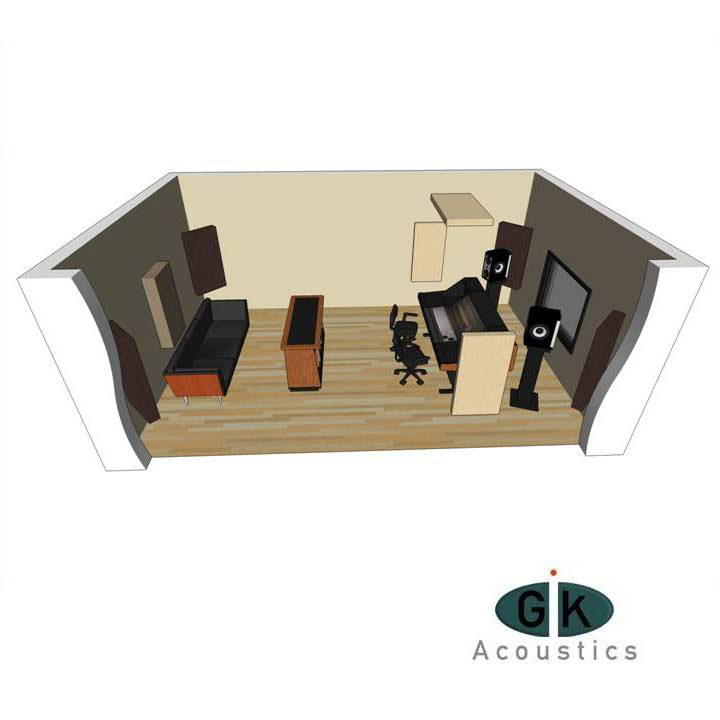
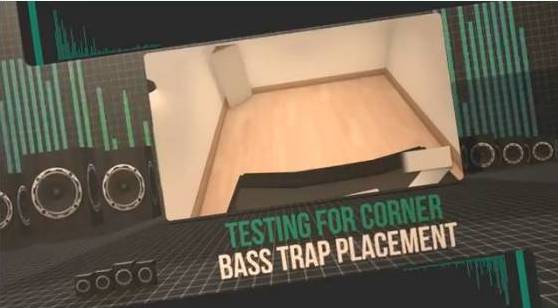
Where you place room treatments really isn’t all that difficult to figure out. Begin with your room corners and work from there.
In the room corners you want to place Bass Traps, preferably straddling the corners – running from floor to ceiling if possible.
The reason for this is that bass frequencies build up in dihedral corners (where a wall meets a wall – or a wall meets a ceiling/floor) more than they do at a flat wall surface. They also build up more greatly in trihedral corners (where 2 walls meet a ceiling or floor) than they do in simple (dihedral) corners.
Thus – if you straddle a corner – you will acoustically attenuate a greater amount of bass than you would placing the treatment flat in front of your wall. By the same token – if you place that material from floor to ceiling – you will also attenuate the build-up in 2 trihedral corners, thus even more bang for your dollar.
Early reflections need to be dealt with as well. These can occur from walls and ceilings and will affect proper stereo imaging.
What you are looking for when mixing down is a true stereo image of your recording. Thus your right ear should hear what is coming out of the right speaker – and ditto for the left. What happens in an untreated room is that a series of early reflections will screw up that stereo image if the reflected sound reaches the opposite ear too soon.
This can cause comb filtering, flutter echo and can also cause the left ear (for example) to hear sounds from the right speaker that the brain will believe comes from the left speaker.
Finding the correct locations to solve this problem is relatively easy.
Have a friend hold a mirror against your walls and ceiling – and then watch the mirror from your seating position while he slides it along the wall. Anywhere you can see a speaker in the mirror you will need to place treatments. Don’t forget to deal with the wall behind you as you do this exercise.
For early reflections you can use 2″ 3pcf rock mineral wool to solve your problems. You get more bang for the buck with these treatments if you can place them off the wall instead of tight against it. This also increases their efficiency with lower frequency transmissions – thus adding more bass control in your room.
One condition is shown in the figure below, this is the cause of comb filtering (so named because a graph of the signal resembles a comb.
Treatments placed at the wall where the reflection point is will solve this problem.

Below you see the cause for flutter echo, again this is solved by placement of treatments on the wall behind the listening position at the points where you see the speakers reflected in the mirror.

Below is another area that you want to make certain you pick up. This is the condition where the left ear hears a reflected sound from the right speaker too soon for the brain to realize it’s a reflection – and thus the sound will be thought to be coming directly from the left speaker.
 Once again – all of these are easily handled simply by placing treatments at the reflection points on the wall.
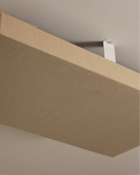
As far as the ceiling goes, you could treat it in the same manner – but I personally recommend that you place a cloud over pretty much the entire ceiling – I like a live floor/dead ceiling approach with a room.
UNDERSTANDING REPORTED TREATMENT TEST RESULTS
What exactly is an absorption coefficient, and what does it mean to you?
The absorption coefficient of a material is a measurement of its ability to absorb at a particular frequency measured for a 1 square foot area of the material.
The measurement ranges from 0.00 to 1.00, with 0.00 representing no absorption (thus full reflection) and 1.00 representing full absorption (thus no reflection). These measurements are reported as sabin units.
What is interesting is that a material can actually attenuate more than full absorption of a particular frequency. This is attributed to not only the density and thickness of the material – but the placement and whether or not edges are exposed.
For this reason – it is not only important that you understand the material properties – but the exact manner in which it was mounted during tested.
In order for you to achieve the same results of those tested you have to install the material the way it was installed during the testing procedure. Otherwise you will not be able to effectively calculate it’s effects.
I would stress to you that this is not an effective manner in which to deal with these issues.
The concept is this: an analysis is made of the room effects at the microphone location. If the analysis were to indicate (simply as one example) a 10dB peak at 40Hz you would apply a narrow band inverted signal at 40Hz, increasing in amplitude, until the 40Hz signal leveled out.
This is fine for amplitude – but doesn’t deal with ringing (which is the reverberation effect of the room itself). That also has to be dealt with in order for the room to translate your music into exactly what it was you recorded – and the effects you are adding during mixdown.
By the way – 10dB is about the maximum adjustment you can make through the use of PEQ – and it isn’t unusual to see peaks in the area of 20 or even 30dB.
Likewise for dips, you would apply a boost to the signal – but in the case of dips – boosts are generally even smaller – a maximum of 3 to 6dB (depending on the manufacturer of the speakers. Some manufacturers don’t even add boost for dips because they realize that this can be problematical.
If you should happen to be sitting in a true null…. You would actually be experiencing a case where the signal amplitude is 0dB – in which case a 100dB boost would still leave you with 0dB in signal.
The bottom line is this – after dealing with all of this through PEQ – you will find (in the end) that you still have to apply room treatments to tame down the room as a whole, to deal with all the other issues that exist – and once you apply them, you will screw up everything you did with the EQ’ing of your system.
So save yourself a lot of time and effort and treat your room properly to begin with – use PEQ after treatments, mostly to fine tune your speakers themselves.
There is a whole world out there full of cheap make believe solutions to acoustic problems in rooms. Let’s take a look at some of the more popular “magic beans”.
Egg Cartons
I wish I had a dime for every time someone tried to tell me how egg cartons got the job done. Some of these people are even intelligent people whose opinions I counted on other issues.
Reality is this – although covering your walls and ceilings with these products will change the sound of your room – they really don’t amount to much. They have no density to speak of – and thus do not affect low frequencies, as a diffusor they are much too shallow and too uniform to have any real effect. In short, even if you can get them for free – they aren’t really giving you anything (acoustically) of value in your room.
Cheap Foam Products
There are quite a few companies out there producing cheap foam products that look the same as the expensive foam products sold by reputable acoustic manufacturers.
Don’t waste your money.
When these products are tested side by side with reputable products they do not fare well.
Foam is not just foam – it differs in density and in actual chemical compositions.
By the way, just for the record, packing foams are typically NOT fire retardant – flame and smoke develop very rapidly with these products.
If you are not 100% sure of where a foams came from – or if it’s fire retardant – please take the time to perform a simple fire test on a small piece of the product.
In a controlled situation, with a fire extinguisher handy (just in case) set a small piece of the product on fire, if it has been treated properly – when you remove the flame the fire should extinguish itself…
If it doesn’t, then it does not belong on your walls.
Non fire retardant foams have recently been a contributing factor to some of the most deadly nightclub fires in recent history. Protect your wife, children – mothers and fathers – brothers and sisters (and in the process – yourself and your friends) and do not put anything on your walls or ceilings that was not designed and intended to be placed there.
Blankets
Blankets, curtains and mattresses are (once again) not very good products to use for room treatments. They will suck the high and high mid frequencies out of your room – leaving it lifeless and muddy sounding with the problems remaining in the low mid and low frequencies.
You are much better off either purchasing products to deal with your room issues – or getting into a DIY mode and making some treatments with either rigid rock mineral wool or rockwool.
In closing, once you have finally treated and fixed the modal (and non-modal) issues in your room – you will finally be able to do what it is you want to do most, make music and have fun. I hope you enjoy.
Designer Tips: The Significance of “Clouds” with Mike Major
When people reach out to us at GIK for acoustic advice, we never have any [...]
Jun
Designer Tips: The Importance of Coverage Area with James Lindenschmidt
The most important factor in acoustic treatment performance is coverage area. Or more specifically, the [...]
May
Designer Tips: Home Theaters and Acoustic Balance with John Dykstra
Without fail, one of the first things our clients say to us when we begin [...]
May
Black Friday Cyber Monday Sale 2021
[...]
Nov
GIK Acoustics Releases Stylish Vocal Isolation Booth
ATLANTA, GA (June 3, 2020) – We announced the debut of a new portable sound [...]
Aug
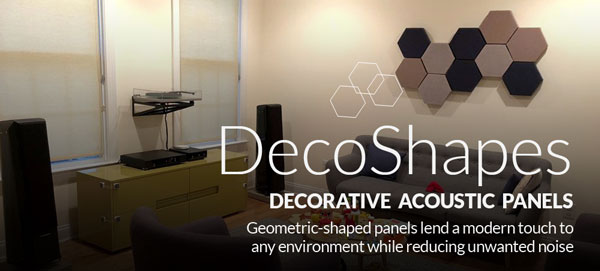
New Thicknesses for DecoShapes Hexagon Acoustic Panels
We have just introduced more thicknesses for our DecoShapes Hexagon acoustic panels. From thin 1 [...]
Aug
GIK Giveaway Summer Photo Contest 2021
The GIK Acoustics Summer Giveaway Photo Contest 2021 invited customers to submit photos illustrating how [...]
Jun
Speaker Placement: How far from the wall should I place my speakers?
There’s a lot of confusion surrounding speaker placement. In truth, the optimal speaker setup is [...]
Mar